Thunderbird is a free and open source email and calendar client for the desktop, that is easy to set up and customize. Like Apostrophy Service, Thunderbird use and promote open standards, which makes it very doable to connect Thunderbird to Apostrophy Service.
You will need the standard IMAP configuration settings listed in this kb article.
| Open Thunderbird and select Setup an account -> email | 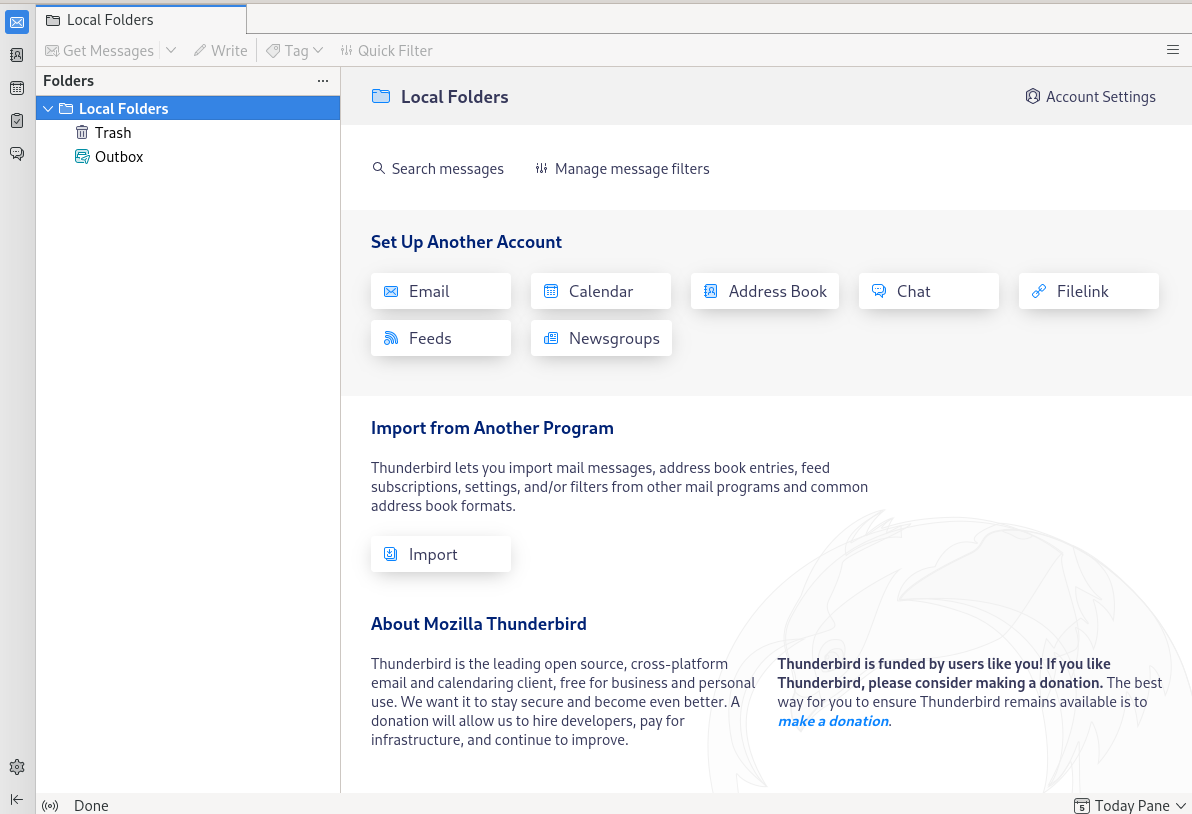 |
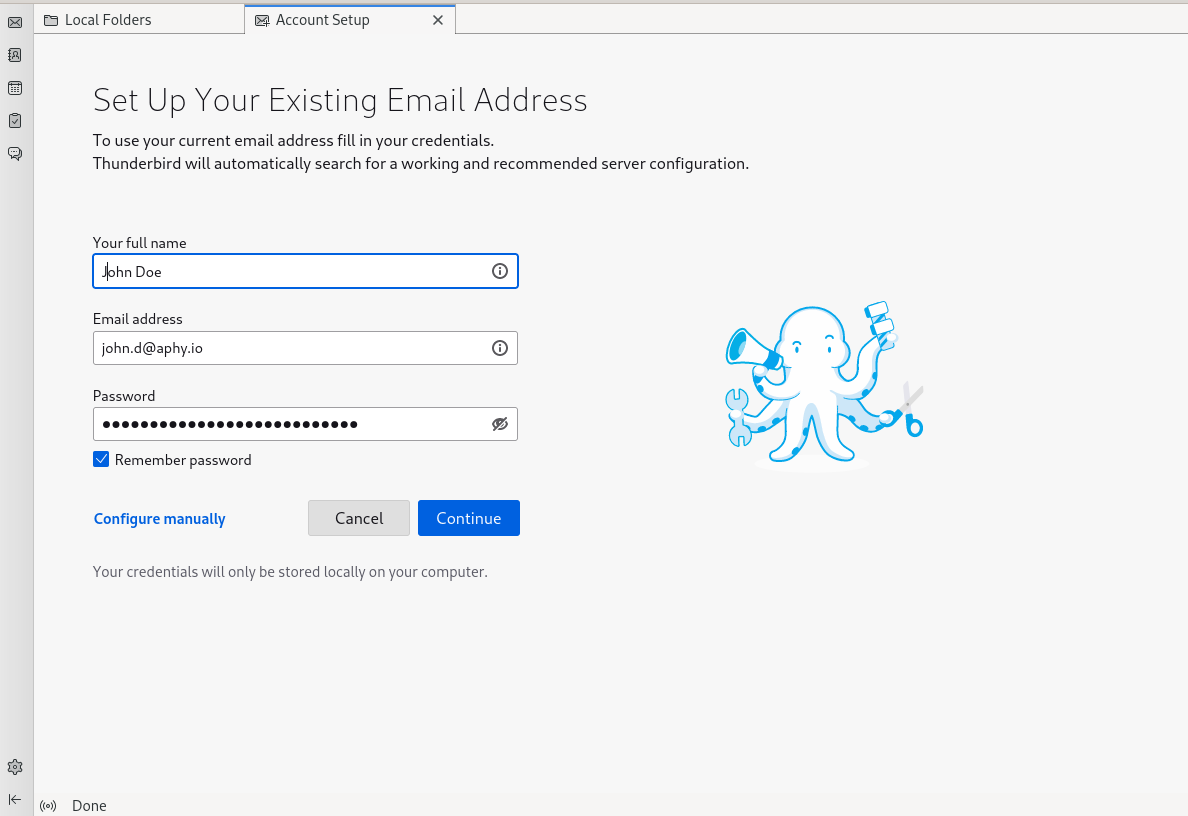 |
Type in your email address and password and press Configure Manually |
| In the manual configuration page type in the values:
Incoming Server: Outgoing Server: |
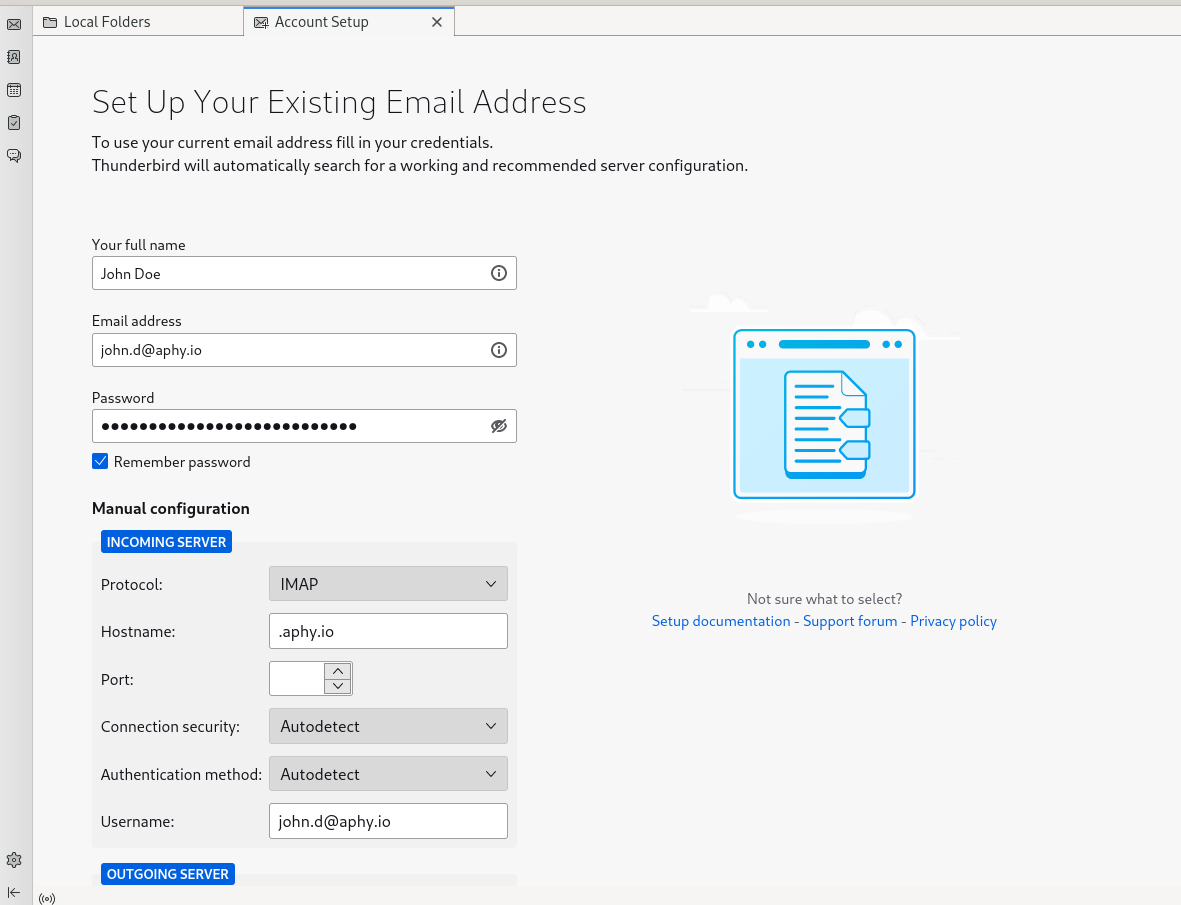 |
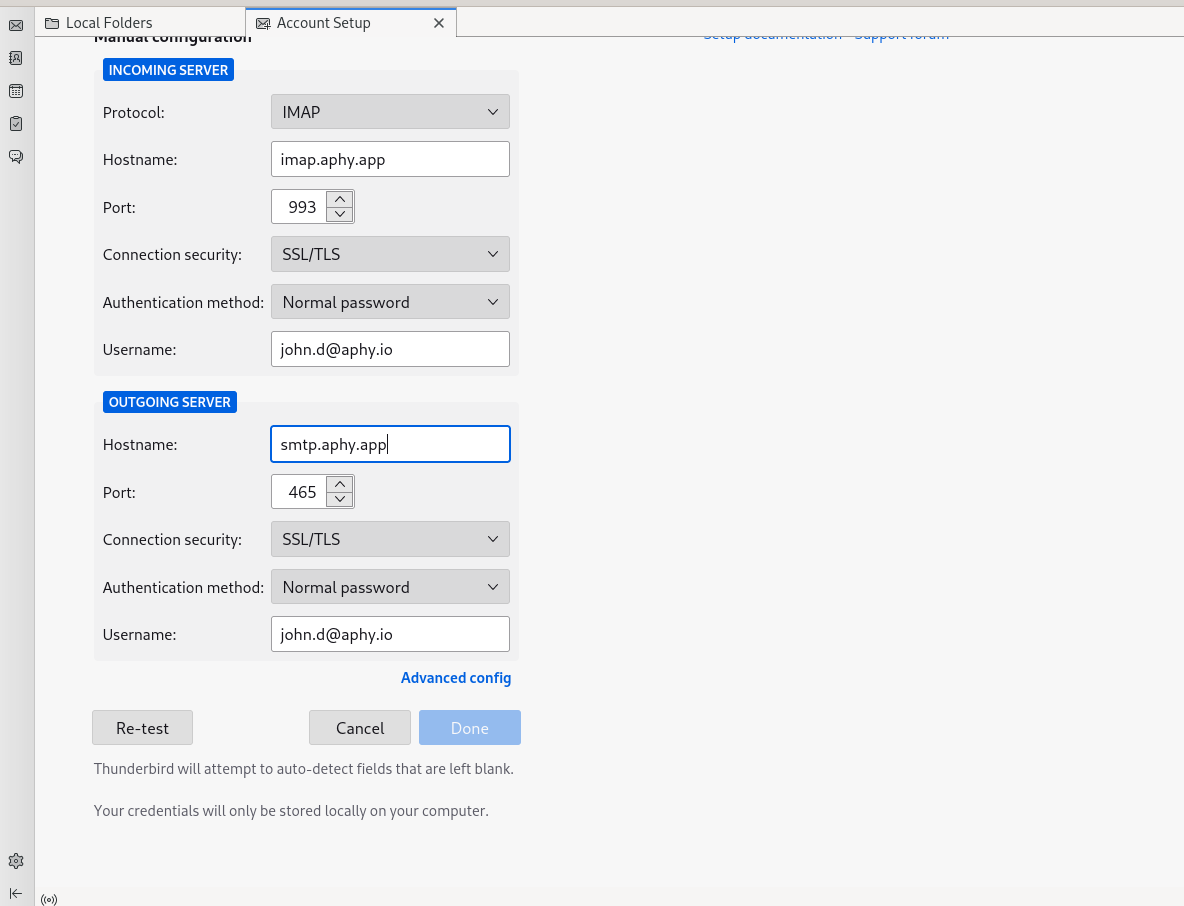 |
…and press Re-test |
| Thunderbird is now testing the connections and, when done, you can press Done | 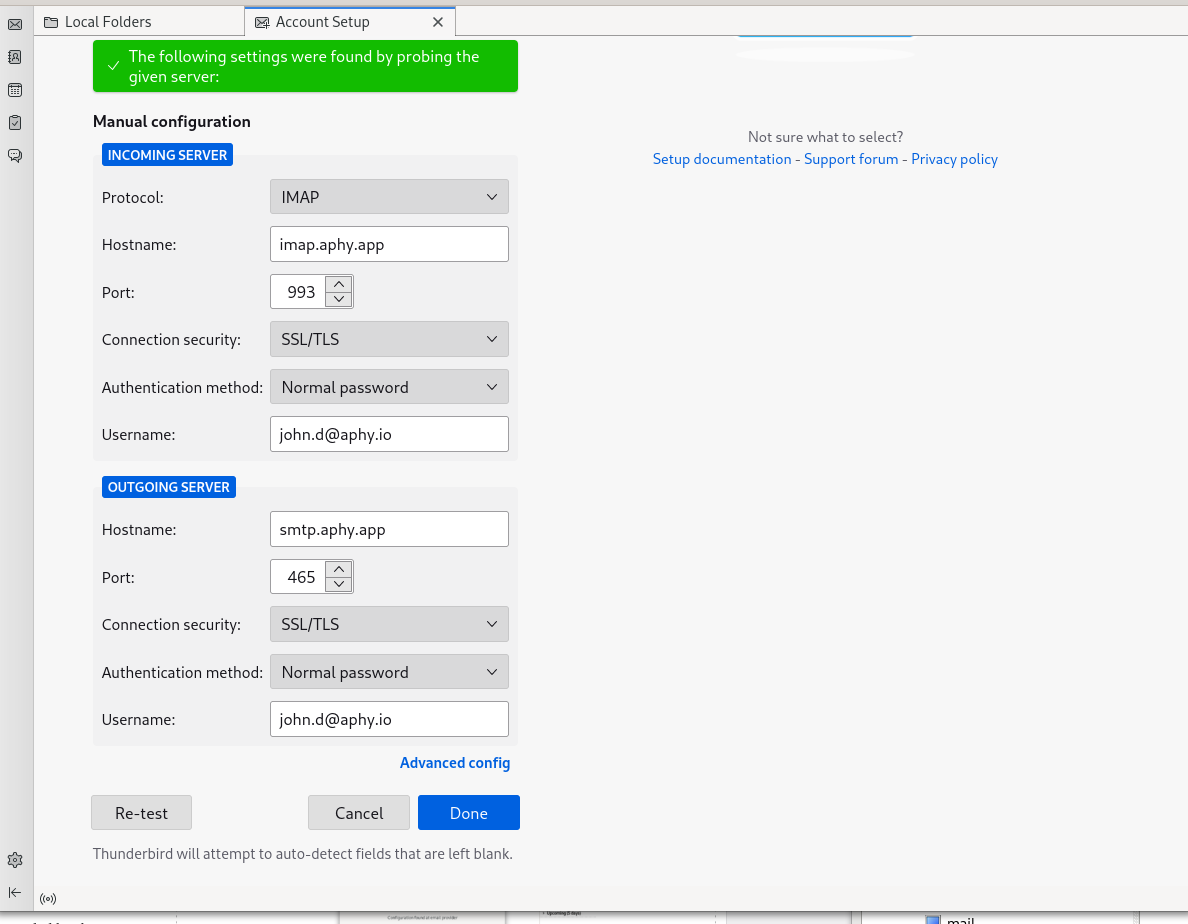 |
 |
You get the option to connect CalDAV/CardDAV items right away, but this option will also be there later. |
| Your emails are now available in the mailview page. | 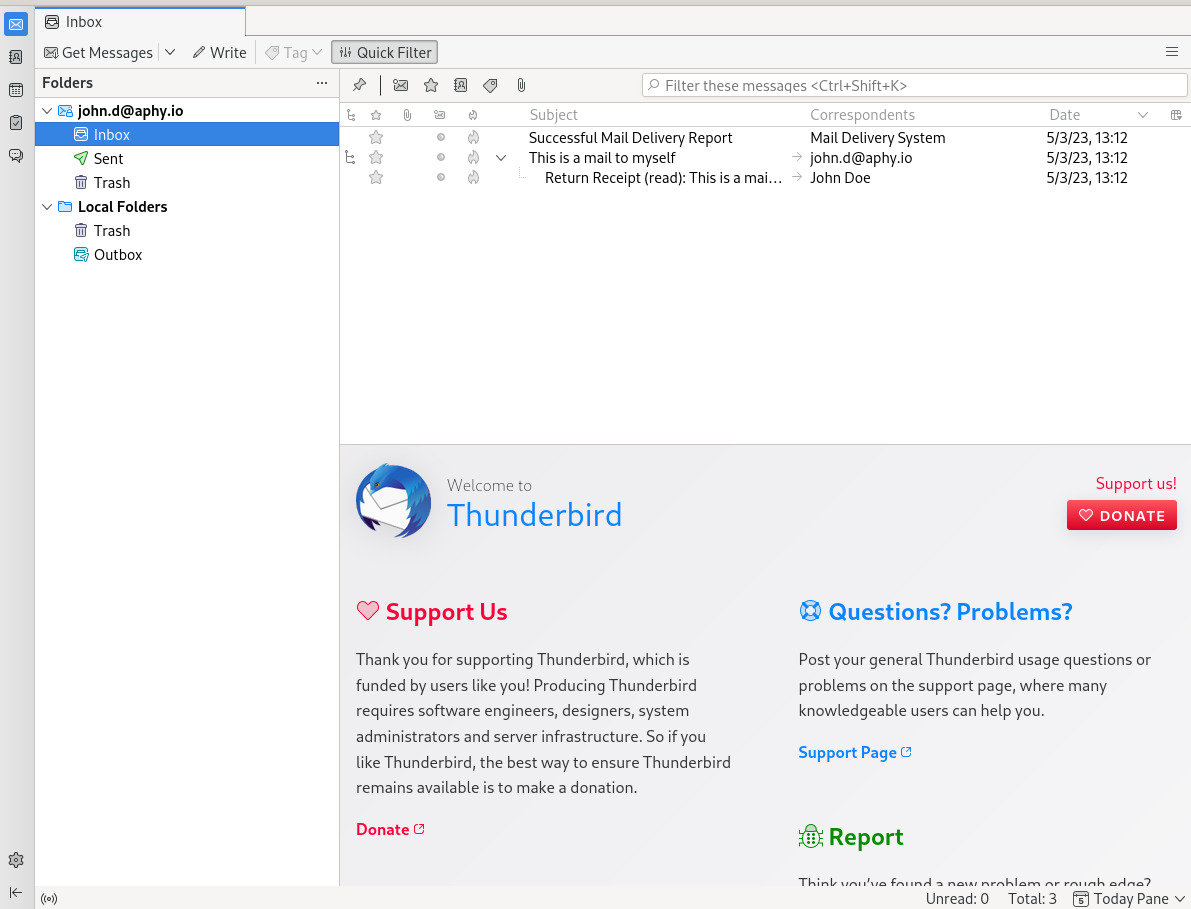 |
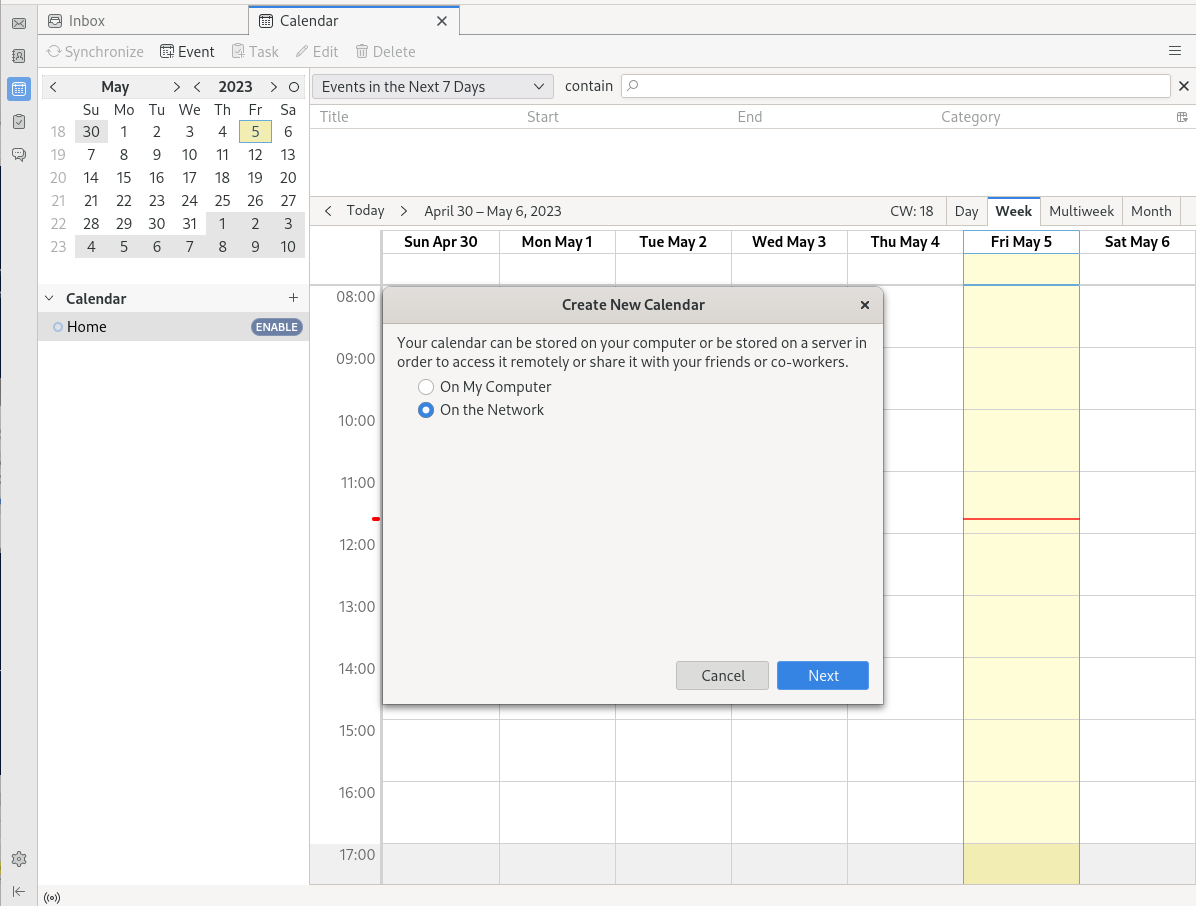 |
Ready to go on with the calendar? Ok. Open the Calendar page from the icon in the left side of the screen and click the tiny +. Look for calendars On the network. |
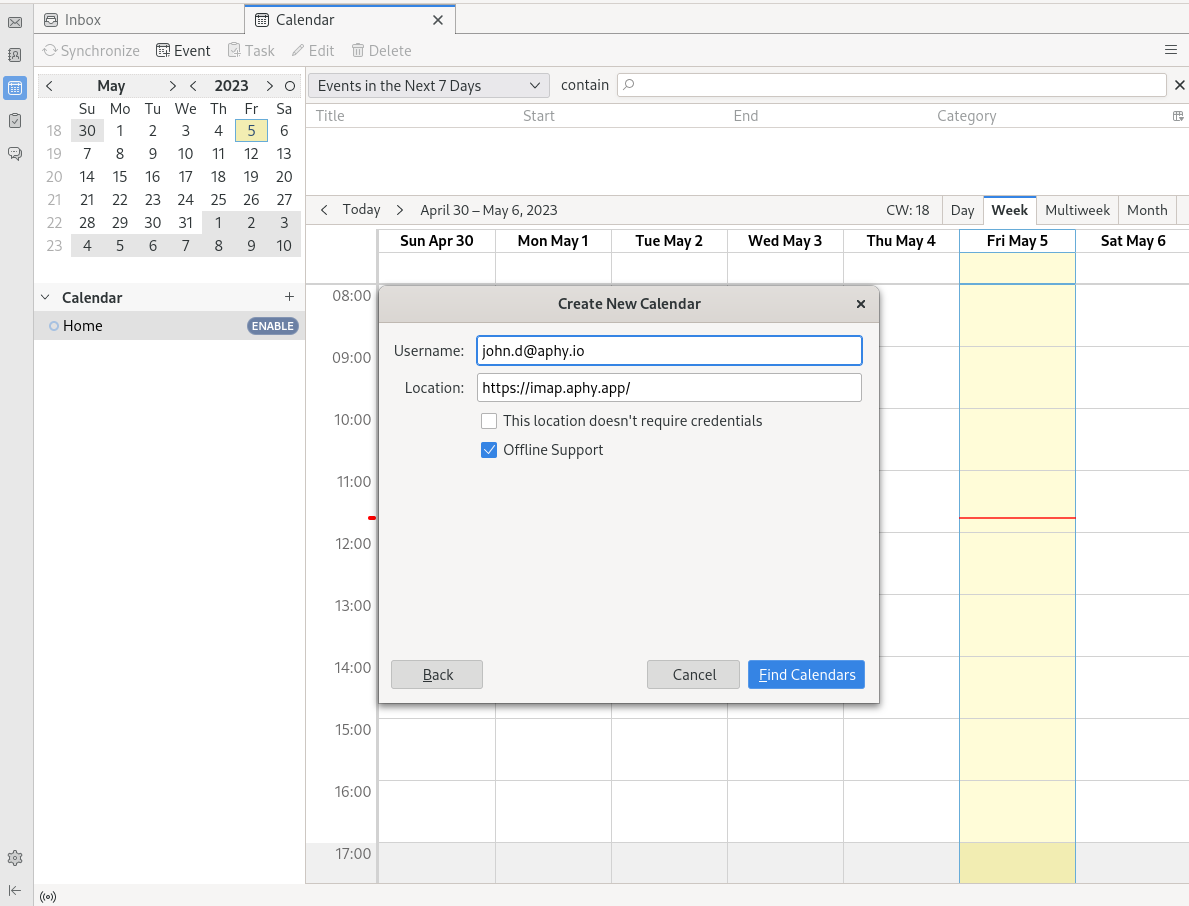
| Enter the login and location:
Server Address – imap.aphy.app |
 |
 |
You get asked for your password.. |
| Your select the calendar.. | 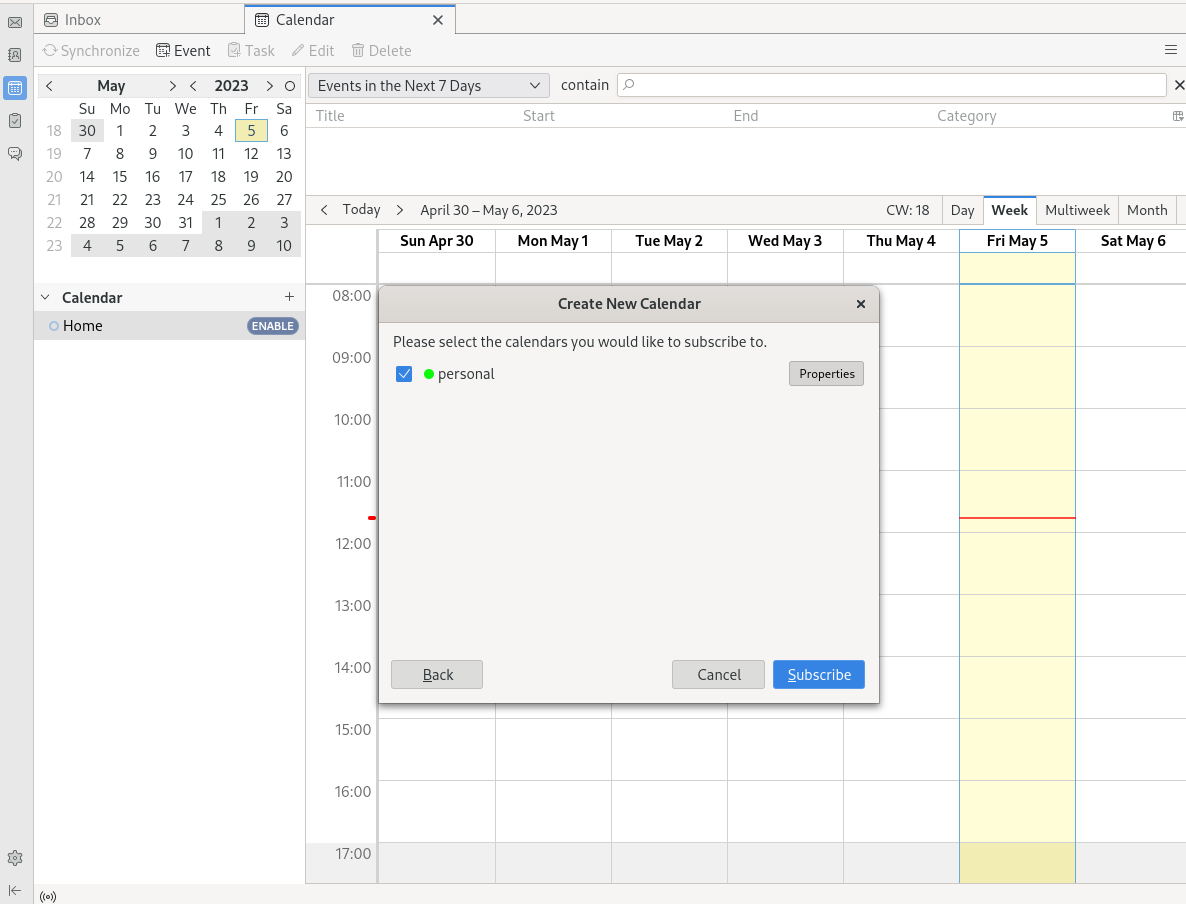 |
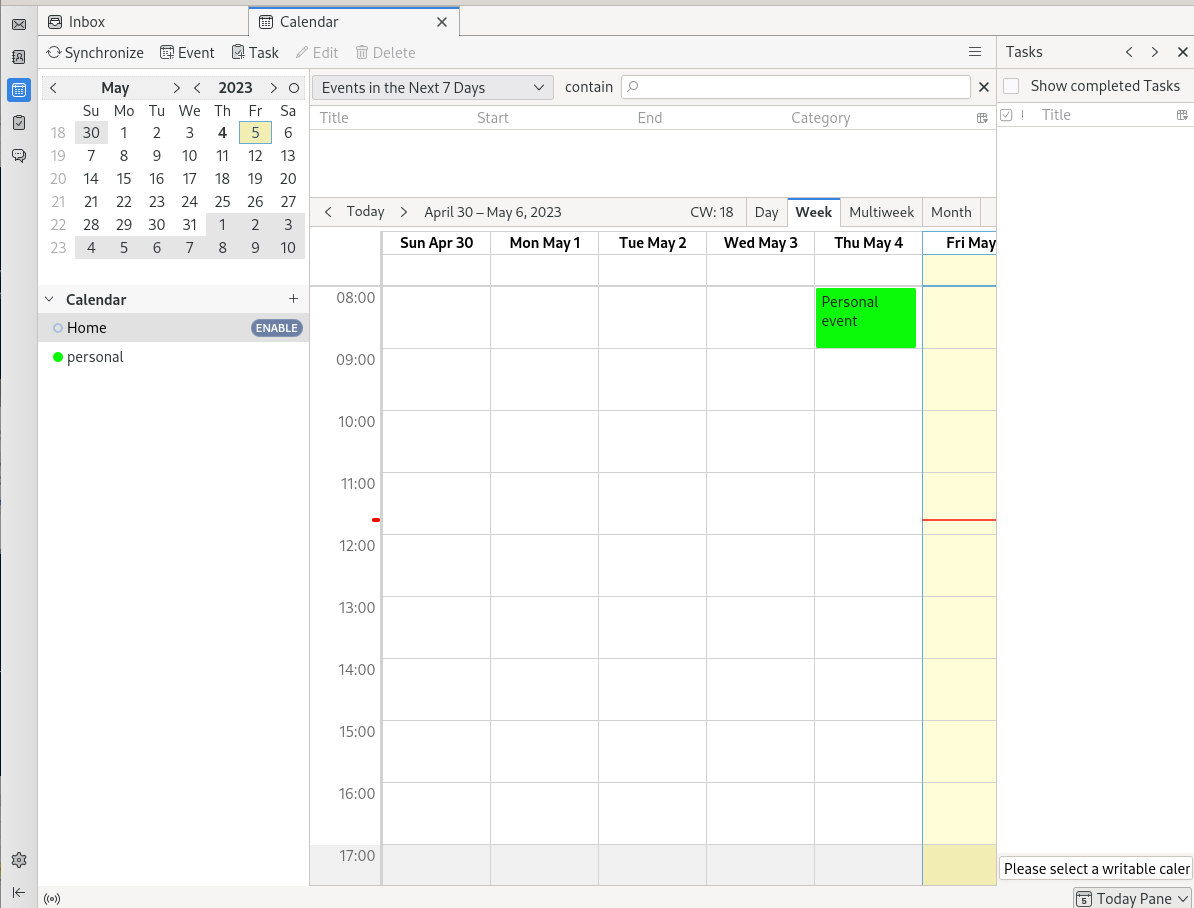 |
..and the calendar is now synchronizing. |
| Now open the addressbook page (also from the icon to the left), and add a new CardDAV addressbook | 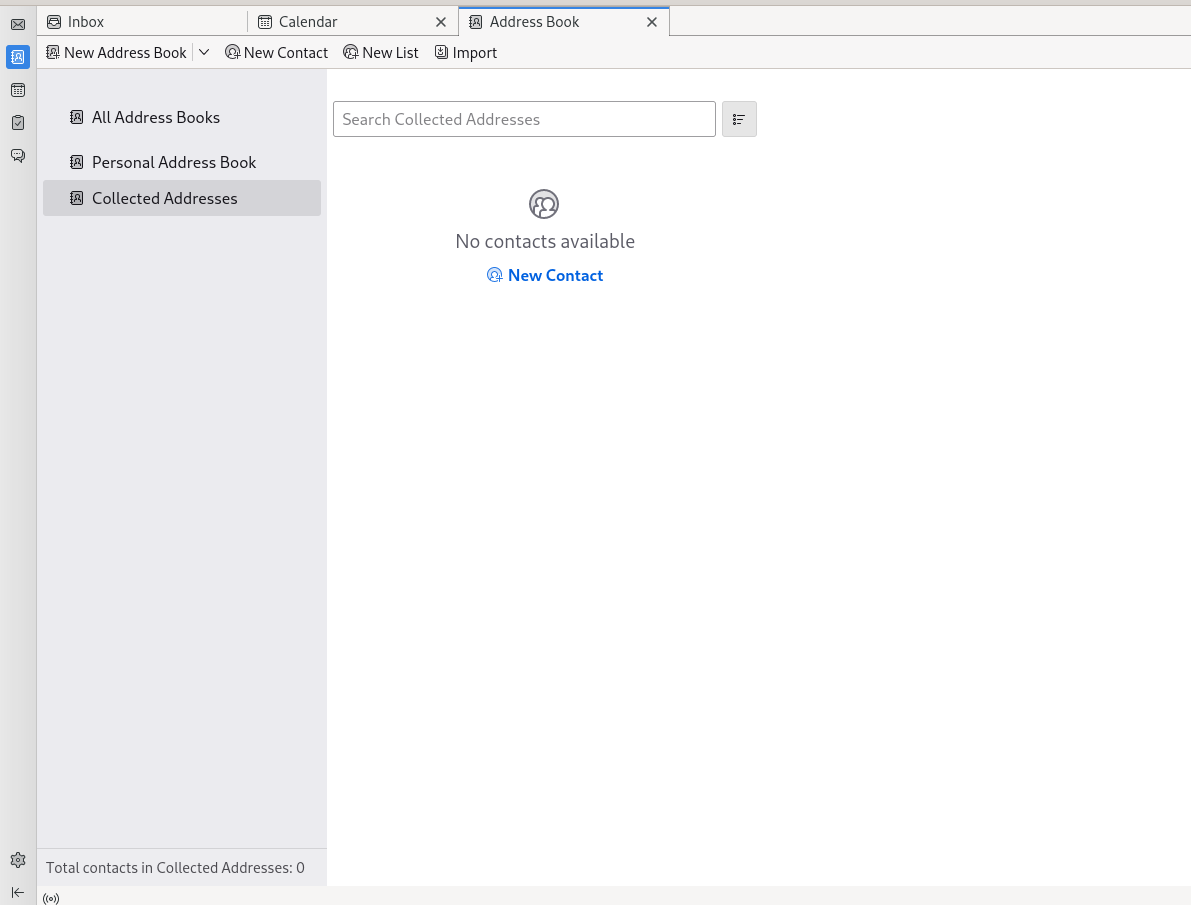 |
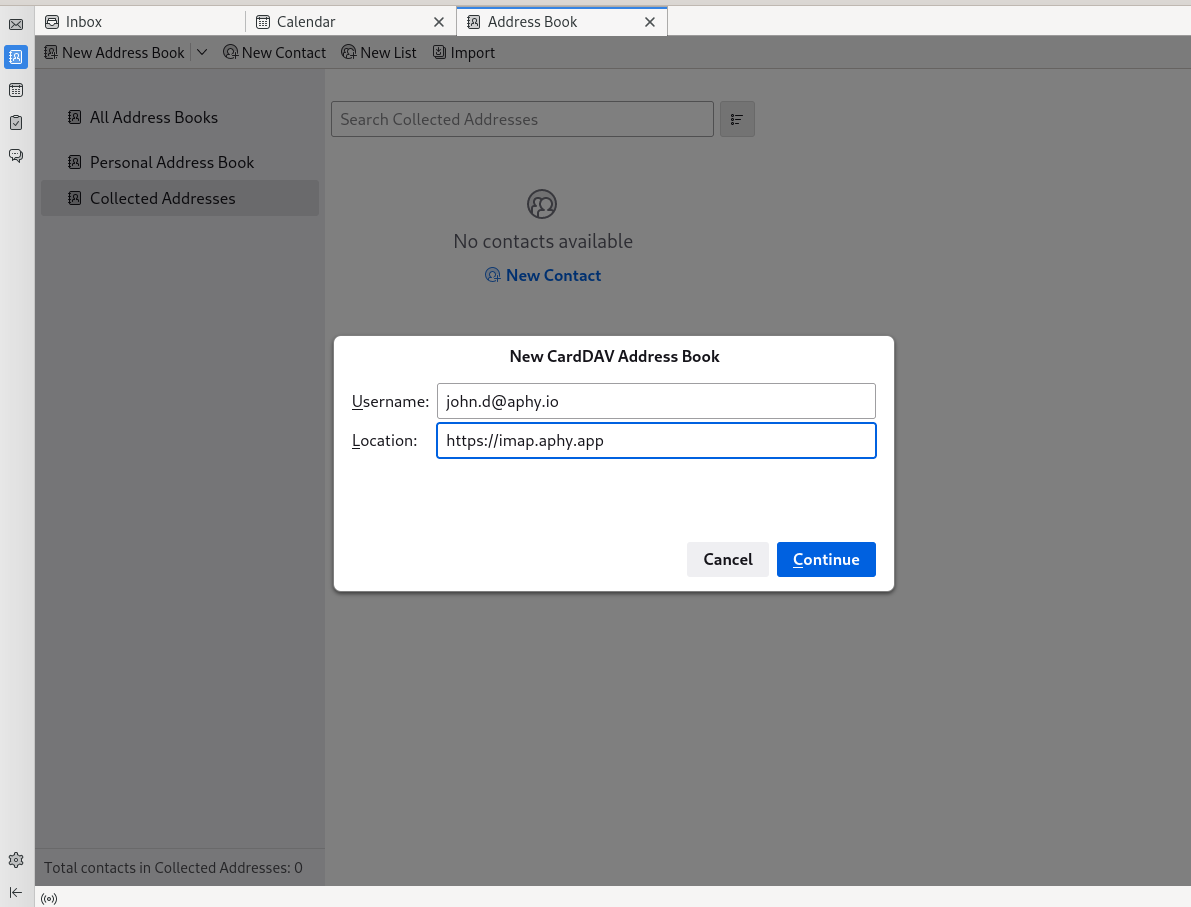 |
Enter the location and login data:
Server Address – imap.aphy.app |
| ..and your password.. | 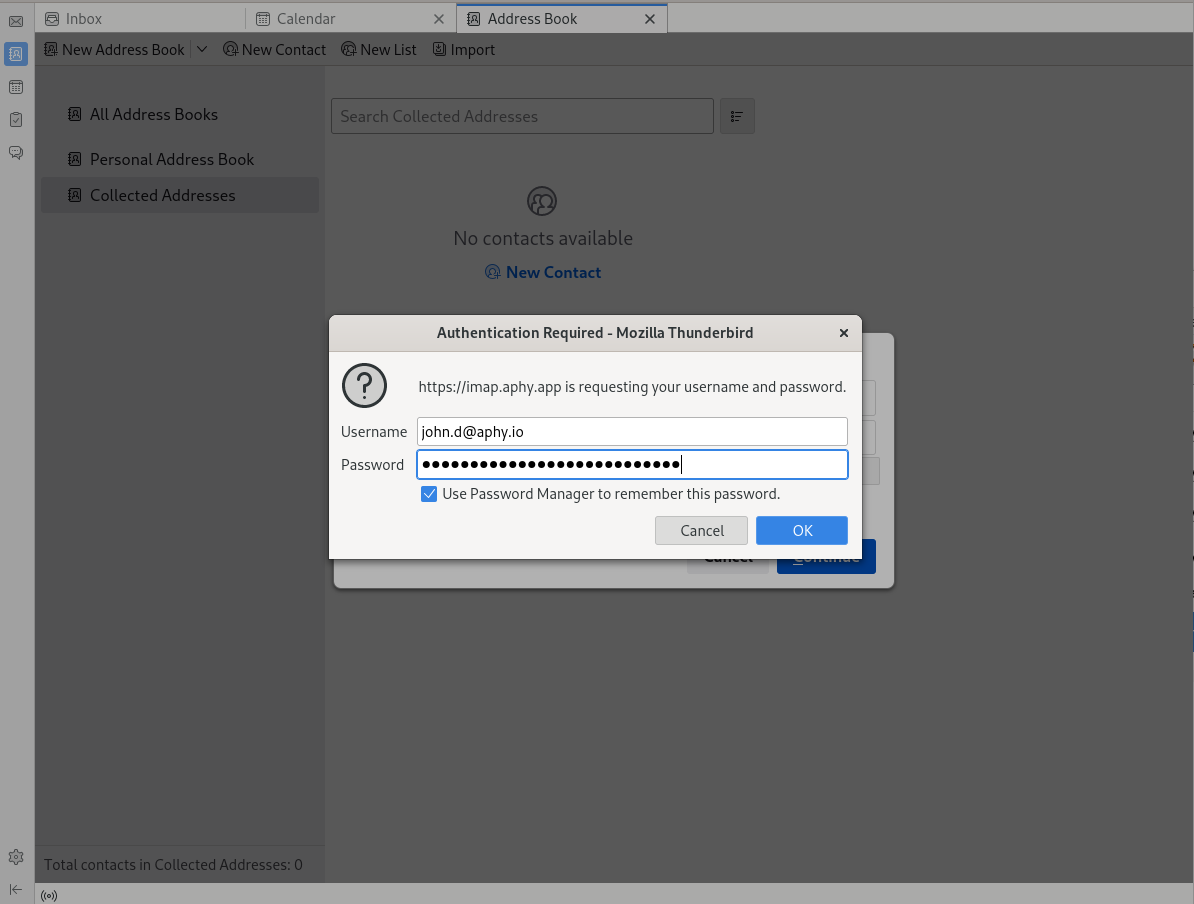 |
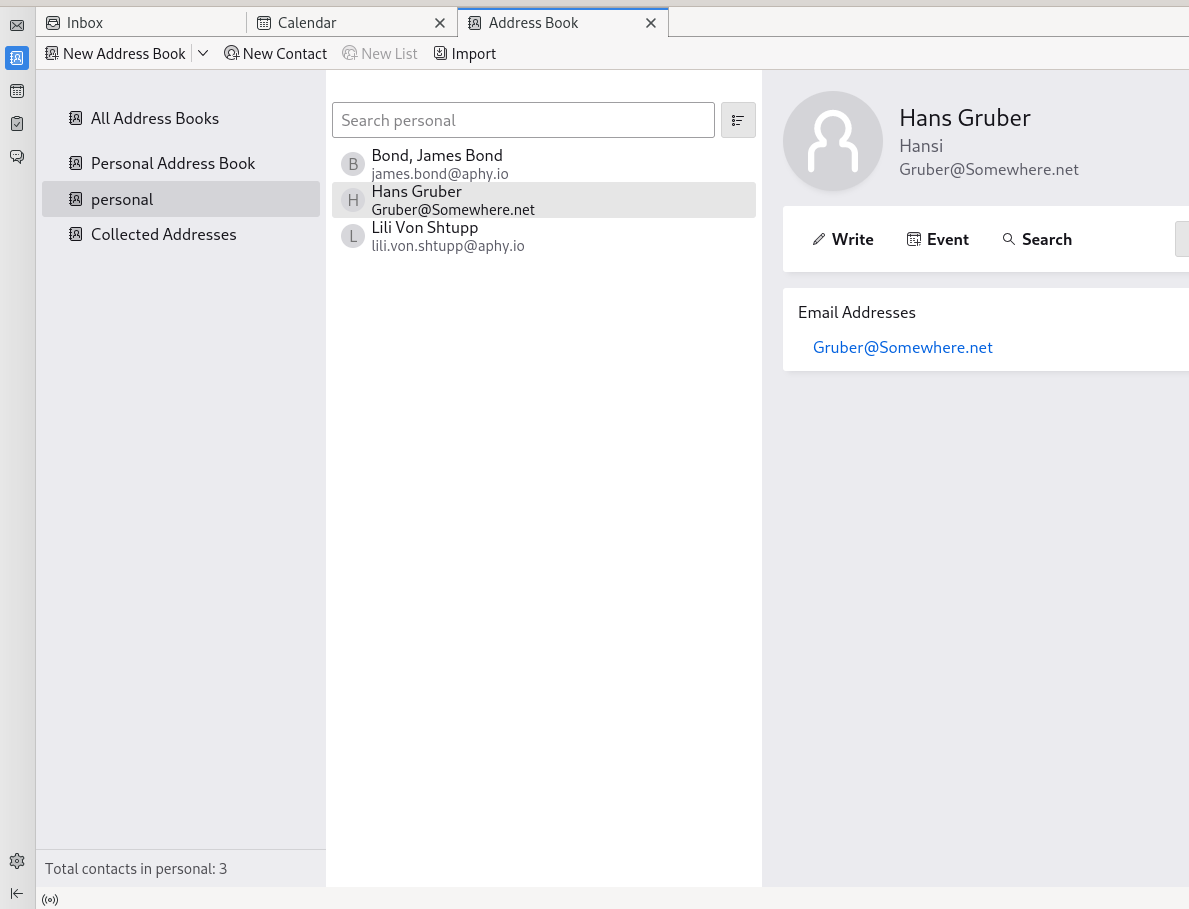 |
..and your addressbook is now synchronizing. |
You now have access to your Apostrophy Services via Thunderbird.